注解aop开发步骤
使用 @Aspect 标注切面类
使用 @通知注解 标注通知方法
在配置文件中配置aop自动代理:<aop:aspectj-autoproxy/>
注解使用虽然方便,但是只能在源码上添加注解,因此我们的自定义类提倡使用注解配置;但如果如果使用到第三方提供的类则需要通过xml配置形式完成配置。
AOP注解开发步骤
案例一
1. 添加Spring依赖
2. 创建Spring配置文件
1
2
3
4
5
6
7
8
9
10
11
12
13
14
15
16
17
18
19
| <?xml version="1.0" encoding="UTF-8"?>
<beans xmlns="http://www.springframework.org/schema/beans"
xmlns:xsi="http://www.w3.org/2001/XMLSchema-instance"
xmlns:context="http://www.springframework.org/schema/context"
xmlns:aop="http://www.springframework.org/schema/aop"
xsi:schemaLocation="http://www.springframework.org/schema/beans
http://www.springframework.org/schema/beans/spring-beans.xsd
http://www.springframework.org/schema/context
http://www.springframework.org/schema/context/spring-context.xsd
http://www.springframework.org/schema/aop
http://www.springframework.org/schema/aop/spring-aop.xsd">
<context:annotation-config></context:annotation-config>
<context:component-scan base-package="cc.gaojie"></context:component-scan>
<aop:aspectj-autoproxy></aop:aspectj-autoproxy>
</beans>
|
3. 在切面类中使用注解配置织入关系
1
2
3
4
5
6
7
8
9
10
11
12
13
14
15
16
17
18
19
20
21
22
23
24
25
26
27
28
| @Component
@Aspect
public class TransactionManager {
@Pointcut("execution(* cc.gaojie.dao.*.*(..))")
public void pc1(){}
@Before("pc1()")
public void begin(){
System.out.println("~~~~开启事务");
}
@After("pc1()")
public void commit(){
System.out.println("~~~~提交事务");
}
@Around("pc1()")
public Object printExecuteTime(ProceedingJoinPoint point) throws Throwable {
long time1 = System.currentTimeMillis();
Object v = point.proceed();
long time2 = System.currentTimeMillis();
System.out.println("----time:"+(time2-time1));
return v;
}
}
|
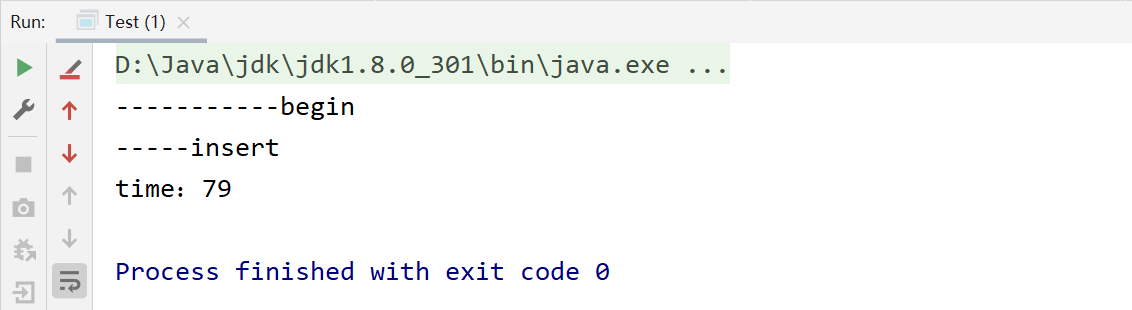
4. 测试
1
2
3
4
5
6
7
| public class Test {
public static void main(String[] args) {
ClassPathXmlApplicationContext context = new ClassPathXmlApplicationContext("applicationContext.xml");
BookDaoImpl bookDaoImpl = (BookDaoImpl) context.getBean("bookDaoImpl");
bookDaoImpl.insert();
}
}
|
注解使用虽然方便,但是只能在源码上添加注解,因此我们的自定义类提倡使用注解配置;但如果如果使用到第三方提供的类则需要通过xml配置形式完成配置。
案例二
1. 创建目标接口和目标类(内部有切点)
1
2
3
| public interface TargetInterface {
public void save();
}
|
1
2
3
4
5
6
7
8
| public class Target implements TargetInterface {
@Override
public void save() {
System.out.println("save running……");
int i = 1/0;
}
}
|
2. 创建切面类(内部有增强方法)
1
2
3
4
5
6
7
| public class MyAspect {
public void before(){ System.out.println("前置增强……"); }
public void afterRunning() { System.out.println("后置增强……"); }
}
|
3. 将目标类和切面类的对象创建权交给 spring
1
2
| @Component("target")
public class Target implements TargetInterface { …… }
|
1
2
| @Component("myAspect")
public class MyAspect { …… }
|
4. 在切面类中使用注解配置织入关系
1
2
3
4
5
6
7
8
9
10
11
| @Component("myAspect")
@Aspect
public class MyAspect {
@Before("execution(* cc.gaojie.anno.*.*(..))")
public void before(){ System.out.println("前置增强……"); }
@AfterReturning("execution(* cc.gaojie.anno.*.*(..))")
public void afterRunning() { System.out.println("后置增强……"); }
}
|
5. 在配置文件中开启组件扫描和 AOP 的自动代理
1
2
3
4
5
6
7
| applicationContext-anno.xml
<context:component-scan base-package="cc.gaojie.anno" />
<aop:aspectj-autoproxy/>
|
6. 测试
1
2
3
4
5
6
7
8
9
10
11
12
| @RunWith(SpringJUnit4ClassRunner.class)
@ContextConfiguration("classpath:applicationContext-anno.xml")
public class AnnoTest {
@Autowired
private TargetInterface target;
@Test
public void test1(){
target.save();
}
}
|

注解配置 AOP 详解
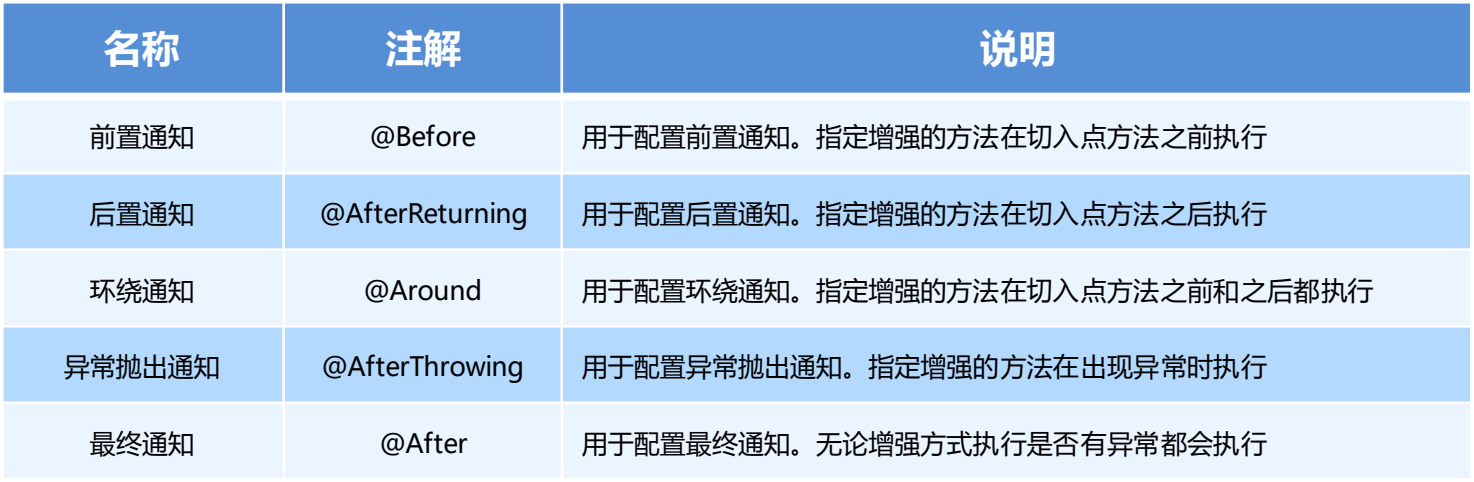
注解通知的类型
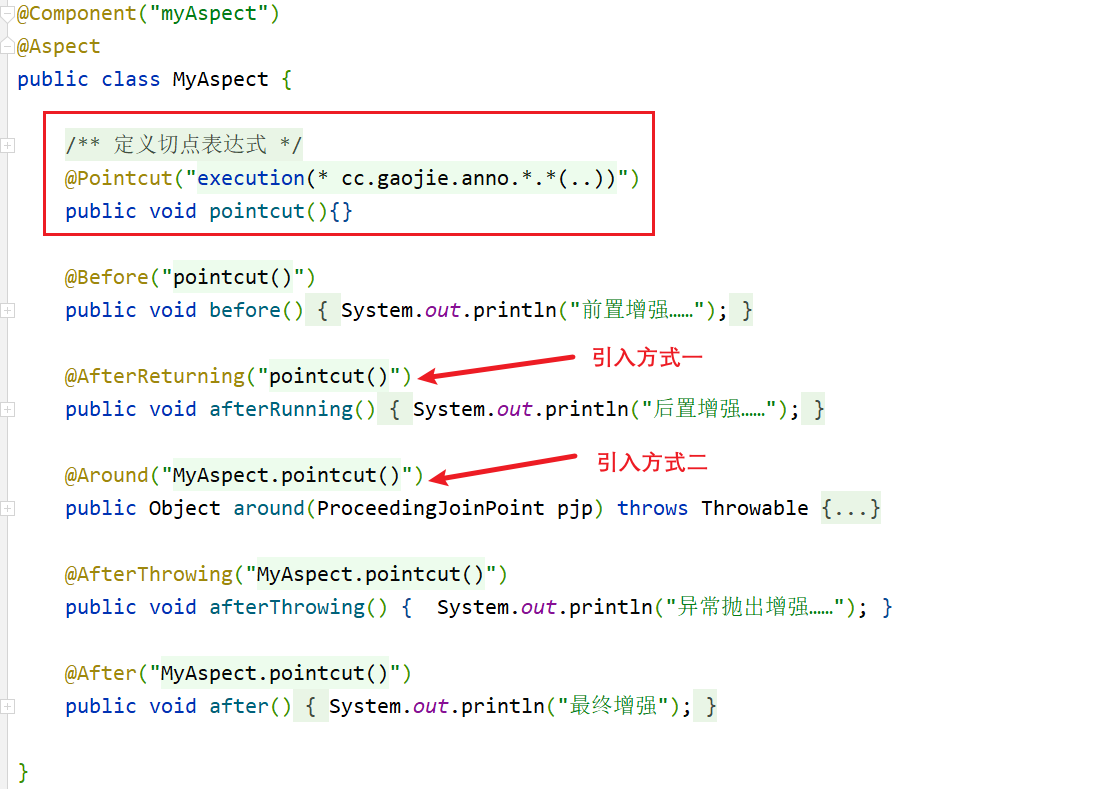
切点表达式的抽取
同 xml 配置 aop 一样,我们可以将切点表达式抽取。抽取方式是在切面内定义方法,在该方法上使用 @Pointcut 注解定义切点表达式,然后在在增强注解中进行引用。具体如下:

可以看到,只有【异常抛出通知】和【最终通知】遇到异常后会继续执行。
知识要点
注解aop开发步骤
使用 @Aspect 标注切面类
使用 @通知注解 标注通知方法
在配置文件中配置aop自动代理
<aop:aspectj-autoproxy/>
通知注解类型